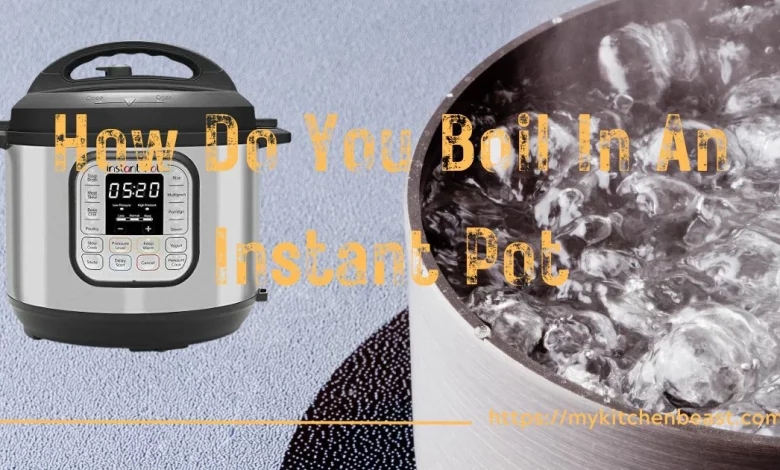
Boiling in an Instant Pot is a quick, efficient, and energy-saving way to prepare various ingredients, from eggs and vegetables…
Read More »Isabelle K. Allis
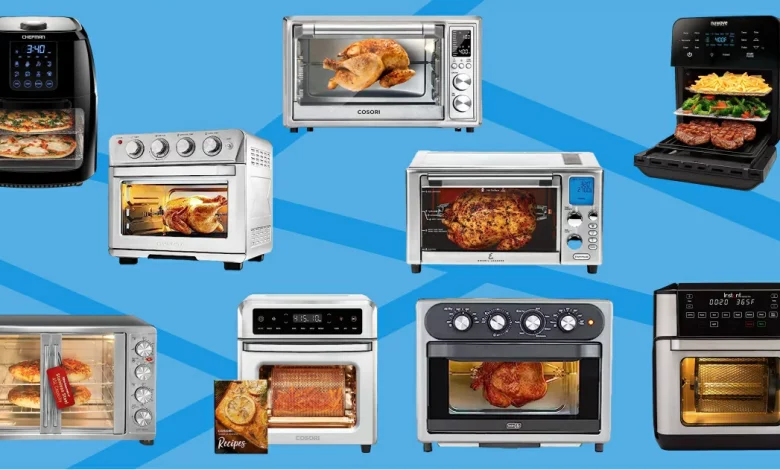
Air fryers with rotisserie are a popular kitchen appliance that allows you to cook food more healthily. They use hot…
Read More »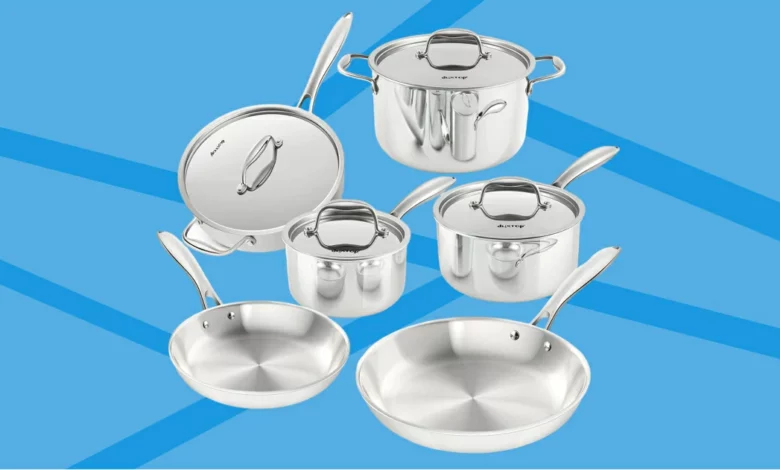
The Duxtop Whole-Clad Tri-Ply Stainless Steel Cookware Set is a high-quality cookware set that is made from durable materials. It…
Read More »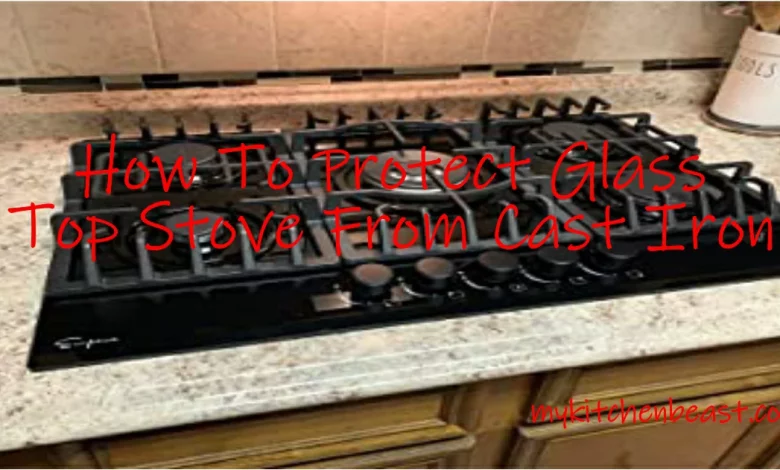
People enjoy glass top stoves for their sleek and modern appearance, yet they require extra care compared to traditional stoves.…
Read More »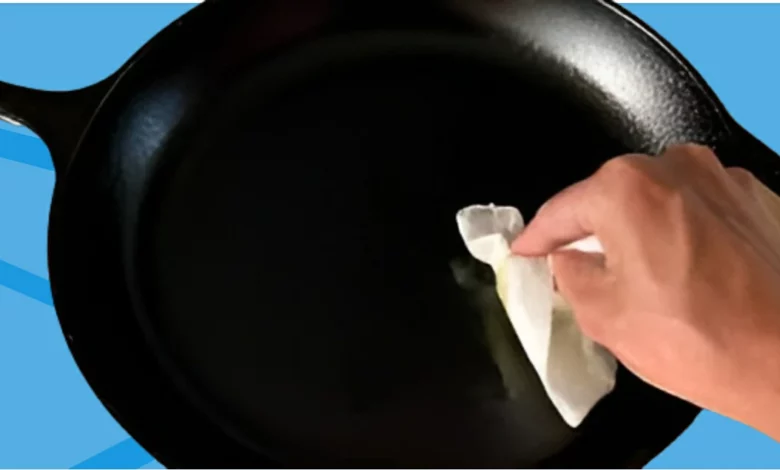
Cast iron skillets are a great way to cook, but they can be difficult to clean if you don’t know…
Read More »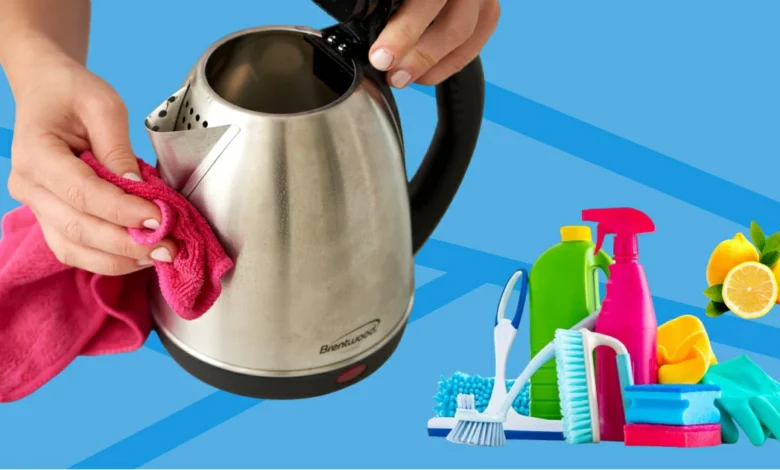
Making sure your tea kettle stays in good shape is important for making the best cup of tea. Over time,…
Read More »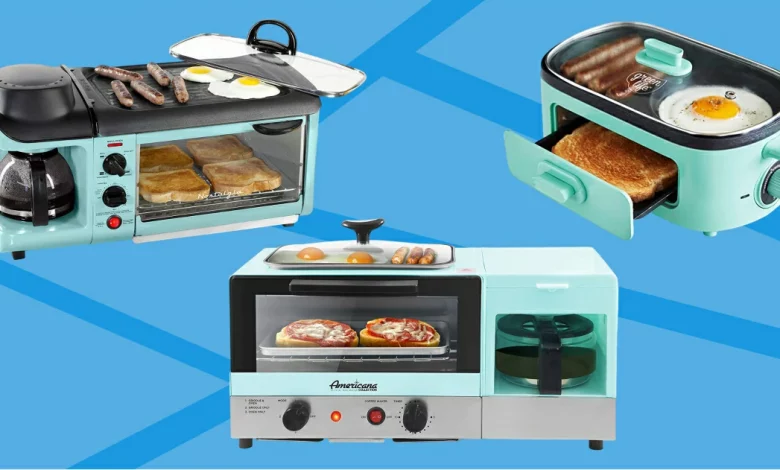
A 3-in-1 breakfast station is a kitchen appliance that combines the functions of a toaster, a blender, and a food…
Read More »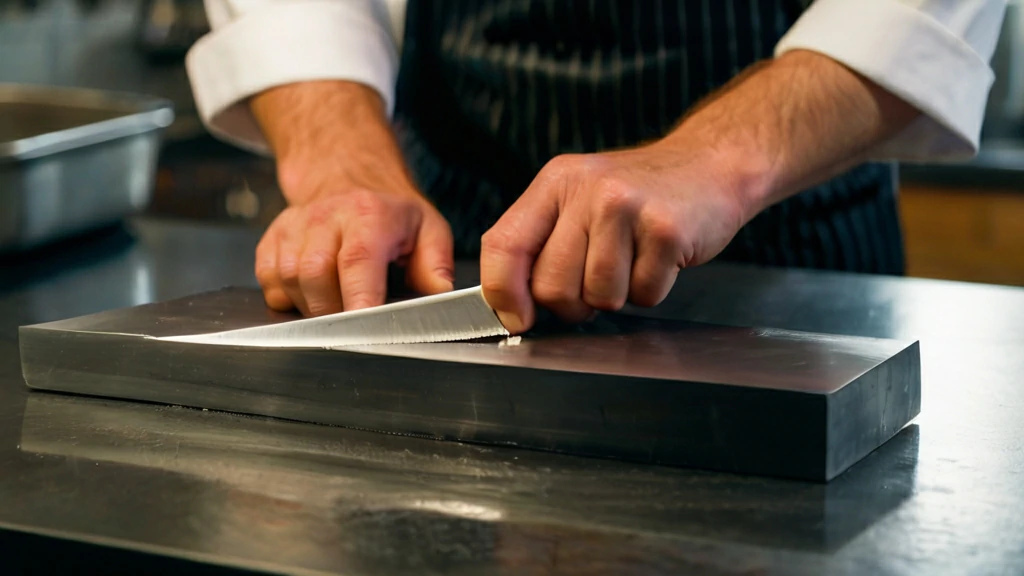
Sharpening a knife is an essential skill for any cook, but it can be difficult to do without the right…
Read More »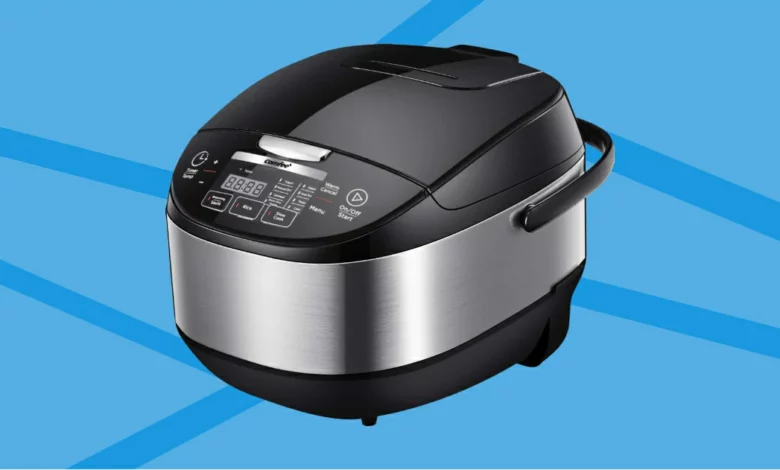
A rice cooker is a beloved kitchen appliance that simplifies the process of cooking fluffy, perfectly steamed rice. However, just…
Read More »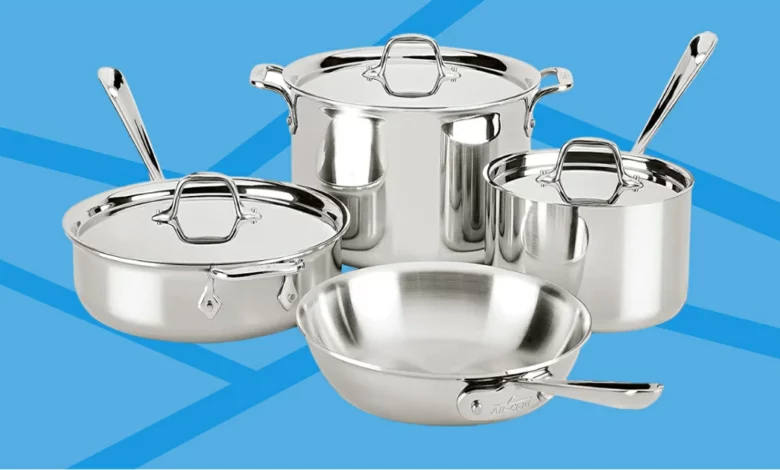
If you’re looking for high-quality cookware that’s built to last a lifetime, the All-Clad D3 Stainless Steel Cookware Set is…
Read More »